Fun with Tesla Coil (With Explanation)

Spread the love

Introduction

My personal project for this week is this Tesla Coil. So, what is Tesla Coil? Is it the coil disassembled from Tesla car? Of course not.

A Tesla coil is an electrical resonant transformer circuit designed by inventor Nikola Tesla in 1891. It is used to produce high-voltage, low-current, high frequency alternating-current electricity. A Tesla coil is a radio frequency oscillator that drives an air-core double-tuned resonant transformer to produce high voltages at low currents. (Source)

But just a simple Tesla Coil is not going to be fun, how about we make one that can control the arc sound? Sounds greats.

The singing Tesla coil, sometimes called a zeusaphone or musical lightning, is a form of plasma speaker. It is a variety of a solid state Tesla coil that has been modified to produce musical tones by modulating its spark output. The resulting pitch is a low fidelity square wave like sound reminiscent of an analog synthesizer. The high-frequency signal acts in effect as a carrier wave; its frequency is significantly above human-audible sound frequencies, so that digital modulation can reproduce a recognisable pitch. The musical tone results directly from the passage of the spark through the air. Because solid-state coil drivers are limited to “on-off” modulation, the sound produced consists of square-like waveforms rather than sinusoidal (though simple chords are possible). (Source)

Building of Tesla Coil

After the boring introduction of Tesla coil, it’s time we switched to our topic, building the Tesla coil. For this project, to save my time from planning everything from scratch, I decided to buy a Tesla Coil kit to start with. So, let’s unbox it first before we began our story 😀

A cubical box, contains today’s focus
Content of the box

So, waiting no more, let’s start assemble this thing, from components to machine. Besides the materials given in the kit, we need 1 more materials and 2 tools.
Materials : 1. Soldering wire
Tools : 1. Soldering Iron
2. Hot Glue Gun

After everything is ready, I start the assembling process for the components. The components for this circuit is very little, so I guess this would be an easy job.

Cut the exceed pins

Soldering of components should start with components that is lowest in height, so I started with resistor, which is the shortest one. Resistors are placed on the correct place that they should be on. Mind the values of resistor should not be wrong, or else the circuit would have some “bug”.

Next, I continued with second shortest components, LEDs and capacitor. Soldering with them are required to mind the polarity.

Continue with third shortest components, which is DC connector, Audio Jack connector and a capacitor.

The next one would be two transistors, one 80NF70 N-channel MOSFET and one NPN transistor BD243.

This two power transistors generated a lot of heat, so they are required to assemble with the heat sink on to dissipate the heat. Before we put the transistors on the heat sink, the thermal paste has to be applied first to conduct the heat efficiently.

The thermal paste

After the thermal paste have been applied, I screw the transistor tight on the heat sink and place then on correct place to be soldered on board.

So now we left only primary coil and secondary coil. Secondary coil will be assembled first to ease the work because it is larger. Secondary coil will be glued on the board using hot glue. One of its terminal will be soldered on board and another leave open in the air. Primary coil will be soldered with a anticlockwise turn around the secondary coil.

Secondary coil mounted.
The red wire is primary coil
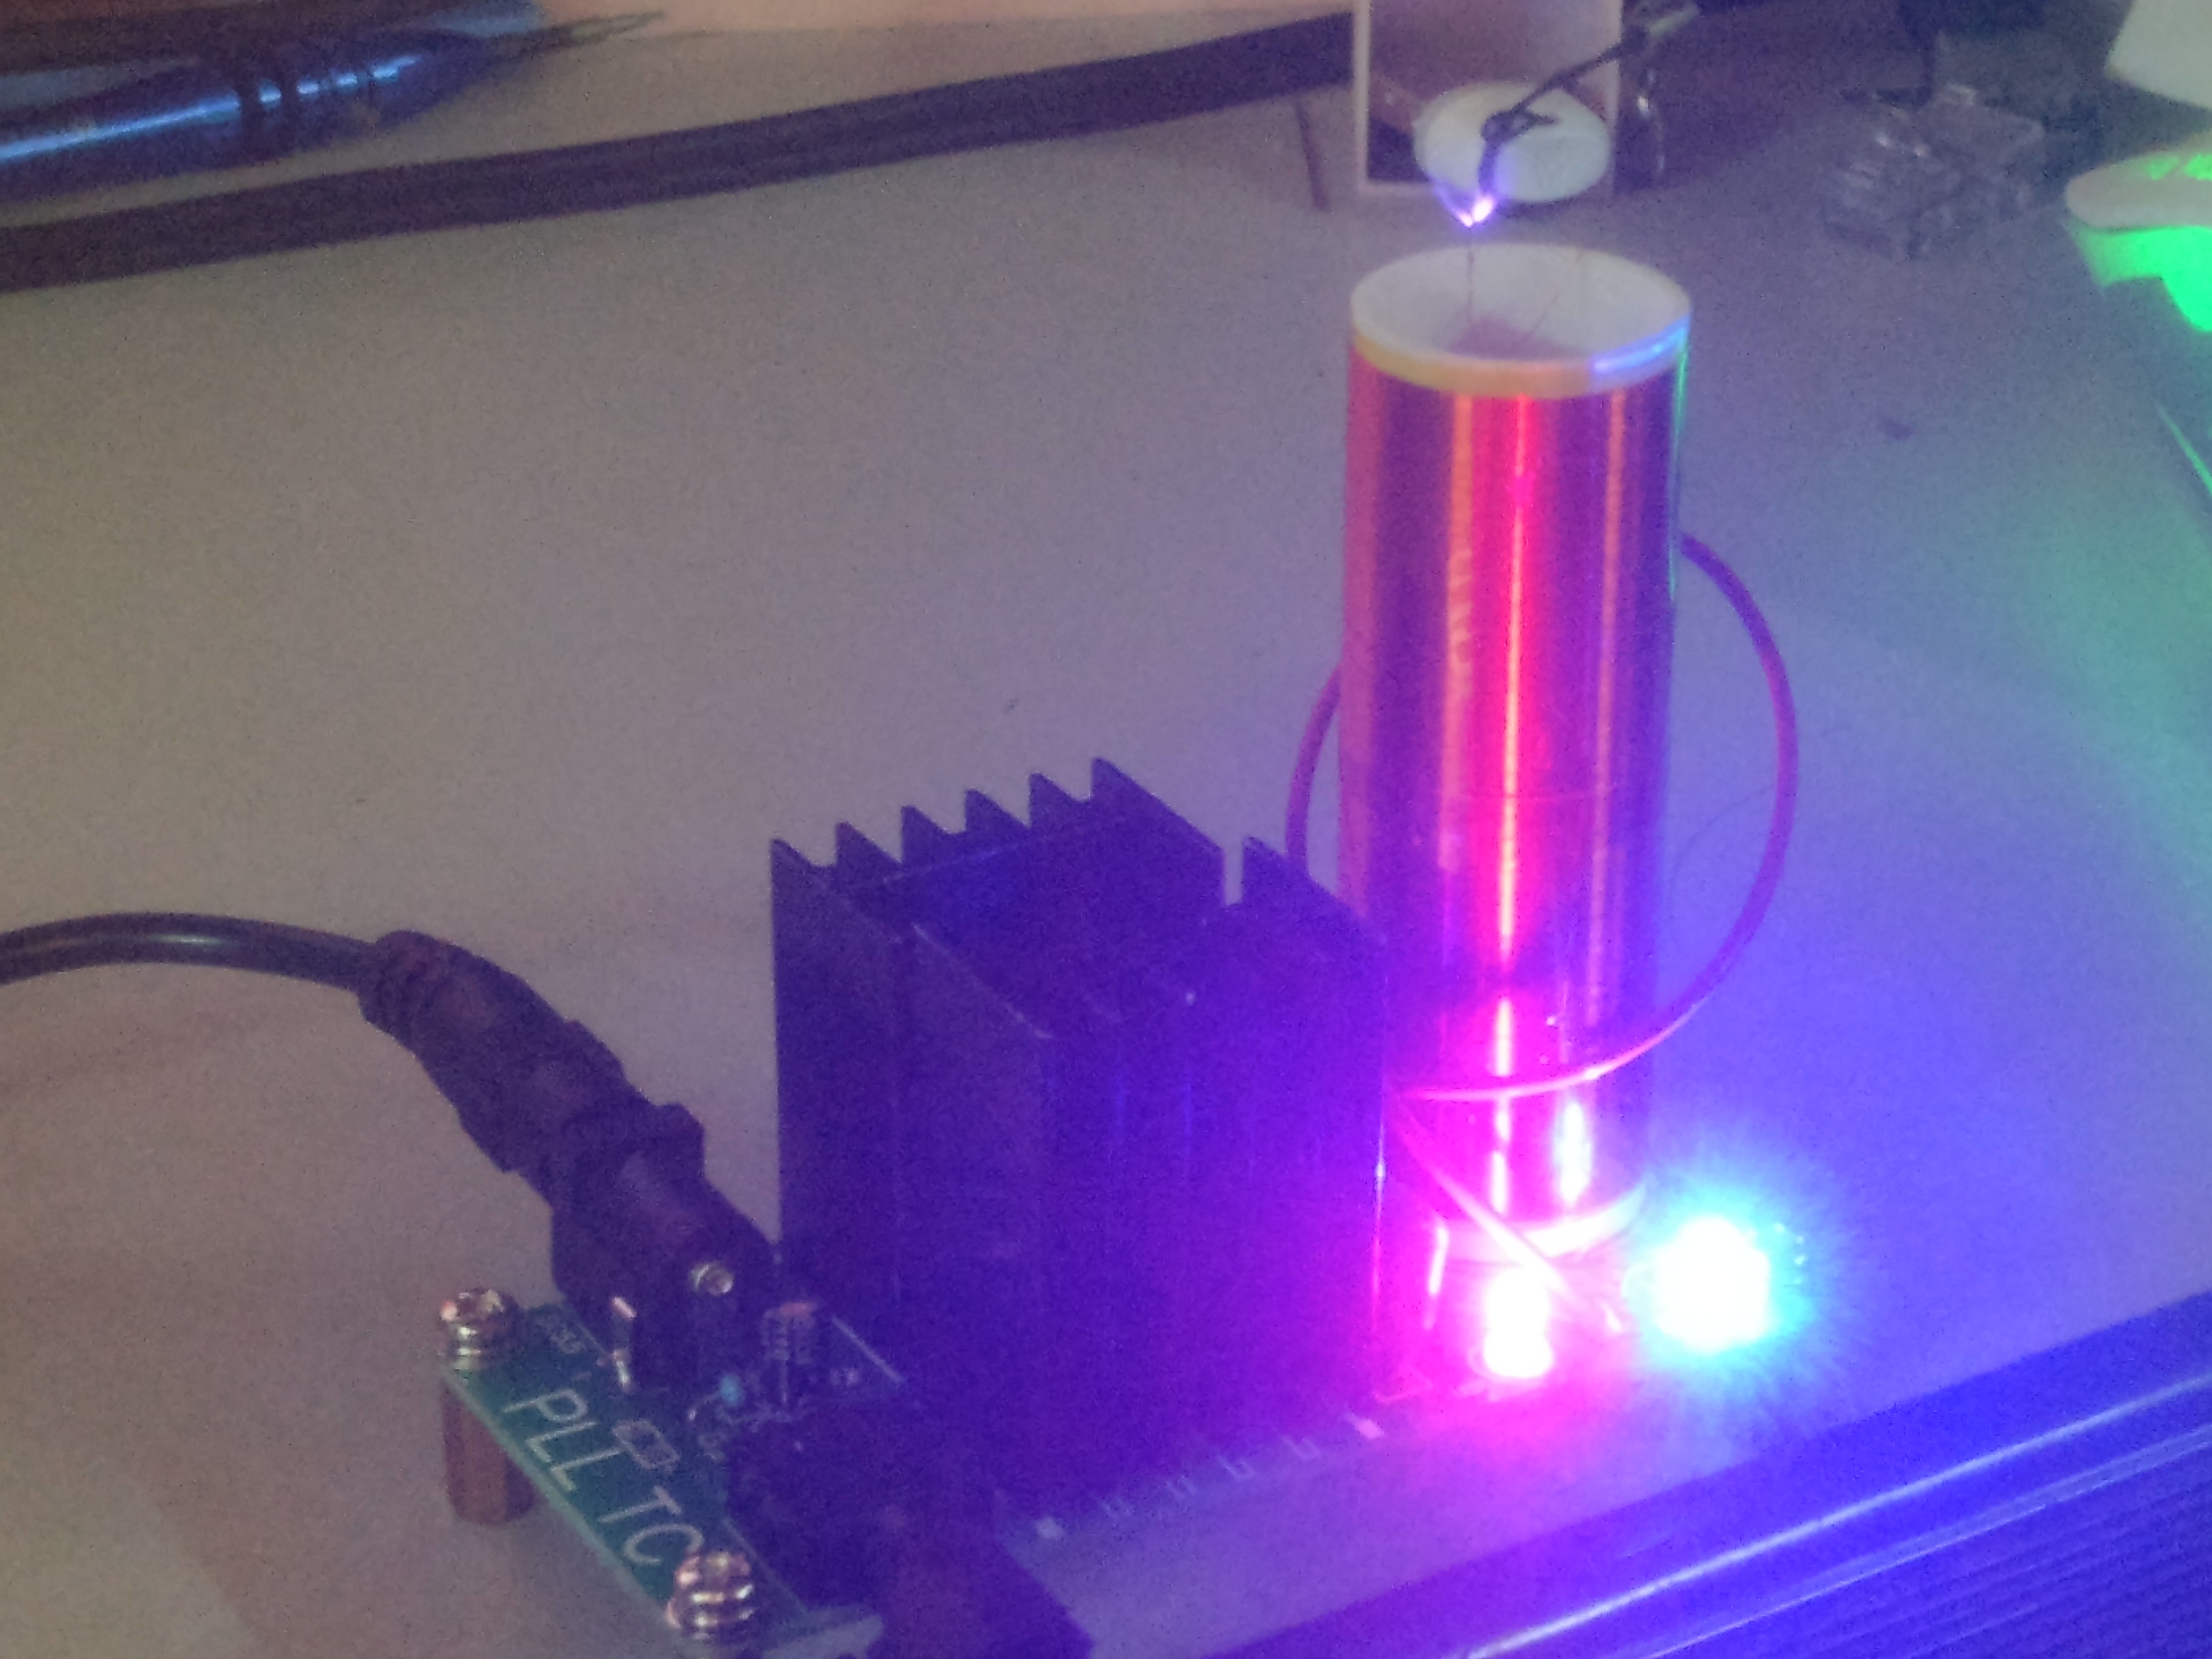
Final result !
The arc is sparking when the current is on.

Here come to a pause as the Tesla coil is builded. It worked well on first run and does produced some interesting sound when it is playing music. The following section will be discussing on how the circuit work. Build a thing without understand how the circuit work is non-sense, so let’s go through it’s circuit in the section below 😀

How the circuit worked

To study how the circuit worked, I draw the circuit schematics by observing the circuit board, and here is the result.

Circuit schematics of the coil

L2 which is primary coil, are driven by Q2(8D243), and are switching on and off repeatedly quickly, and induced voltage to L1, which is 350 turns secondary coils.
Given

    \[\frac{V_{out}}{V_{in}} = \frac{Secondary Coil Turns}{Primary Coil Turns}\]


We get

    \[V_{out} = 18V*350 = 6300V\]


The voltage of the secondary coil is 6300V, which is not actually high for Tesla coil.

C1 in the circuit are to cut the DC from the AC audio signal and let it go to gate of the MOSFET Q1. The MOSFET acts as a common drain amplifier, it conduct more when the source voltage fall below gate voltage, bring source voltage up. Q1 control the supply voltage of the rest of the circuit according to audio waveform.

Conclusion

Finally it have come to an end, this is an interesting and fun circuit to spent time with. I do really enjoy how the songs are played by the arc with lighting-like sound and view. However, this is a small Tesla coil with small power and low voltage, so it does not make significant sound, and the sound is no louder than mosquitoes buzzing. I hope in the future there will be another chance for me to build another bigger one, which is louder and scarier maybe? Last, here is a short video shows how it is when playing musics.

Leave a Reply